In “How To Perform CPR: A Step-by-Step Guide,” you’ll discover the essential techniques and crucial steps needed to potentially save a life in an emergency. This friendly and comprehensive guide takes you through each phase of the CPR process, ensuring you’re well-prepared to act confidently in a crisis. Whether you’re a novice or looking to refresh your skills, this article is an invaluable resource. For additional tips and expert training on first responder medical procedures, consider visiting Green Line Arms in Pensacola, Florida. Alongside their wide array of firearms and accessories, they offer exceptional training programs that promote responsible gun ownership and community safety.
Have you ever found yourself wondering what you would do if someone around you suddenly collapsed and stopped breathing? Knowing how to perform CPR (Cardiopulmonary Resuscitation) can make a life-or-death difference in such situations. Whether you find yourself at home, work, or even enjoying a day out at Green Line Arms, the ability to administer CPR can equip you with the confidence to act swiftly and effectively in emergencies.

Understanding CPR and Its Importance
Before diving into the step-by-step guide, let’s take a moment to understand what CPR is and why it’s so crucial. Cardiopulmonary resuscitation is a life-saving technique that aims to maintain circulation and breathing in a person whose heart has stopped. Its main objective is to restore partial flow of oxygenated blood to the brain and heart, thus delaying tissue death and extending the brief window of opportunity for a successful resuscitation without permanent brain damage.
Why CPR Matters
CPR is essential because it can double or even triple a person’s chance of survival after cardiac arrest. The reality is that the faster you start CPR after the heart stops, the better the odds of survival. When the blood flow stops, irreversible brain damage can occur in just a few minutes. So, your prompt action can truly be the deciding factor in saving someone’s life.
Common Scenarios for CPR
You never know when you might find yourself in a situation where CPR is needed.
- At Home: Many cardiac arrests happen at home, so being prepared to help a family member can be invaluable.
- Public Places and Workplaces: Gyms, restaurants, and other crowded places are common scenarios where you might need to perform CPR.
- Green Line Arms: Even during your visit to a gun shop or shooting range, knowing CPR can add an extra layer of preparedness to your safety measures.
Step-by-Step Guide to Performing CPR
Now, let’s get into the nitty-gritty of how to perform CPR. Buckle up, because this guide will be thorough!
Step 1: Assess the Situation
The first thing you should do is assess the situation to ensure it’s safe for you to approach the person who needs help. Look for any immediate danger—traffic, fire, or other hazards—before moving closer.
Step 2: Check Responsiveness
Once it’s safe, you need to check if the person is responsive. Gently shake their shoulders and ask loudly, “Are you okay?” If they don’t respond, you need to act quickly.
Step 3: Call for Emergency Help
Dial 911 or ask someone nearby to make the call. Provide the dispatcher with detailed information about your location and the situation. If you’re at a place with specific information, like Green Line Arms, make sure to mention it. Time is critical, so this step should be performed almost simultaneously with the next steps.
Step 4: Open the Airway
Tilt the person’s head back slightly to open the airway. Lift the chin and check their mouth for obstructions like food or vomit. If anything is blocking the airway, it needs to be removed.
Step 5: Check for Breathing
Listen, look, and feel for breathing for no more than 10 seconds. Place your ear near their mouth and watch their chest. If the person is not breathing or is only gasping, you need to start CPR immediately.
Step 6: Begin Chest Compressions
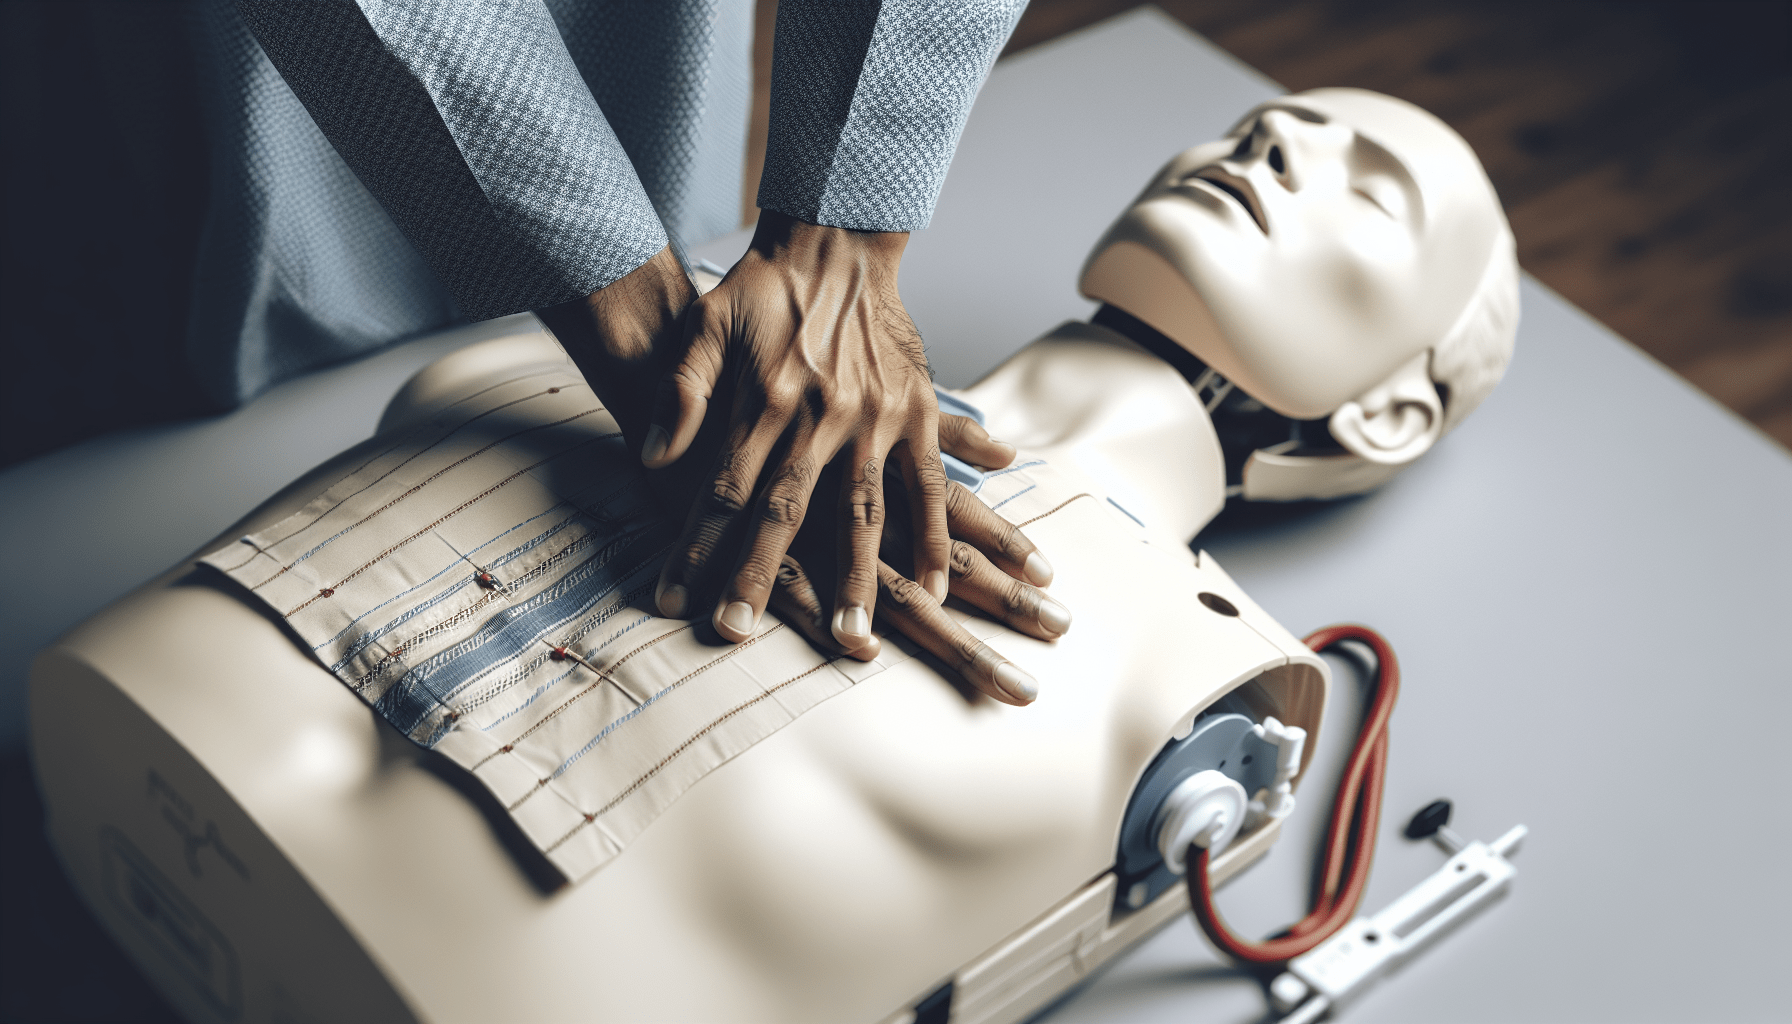
Position yourself with your knees beside the person’s chest. Place the heel of one hand on the center of their chest, right between the nipples. Place your other hand on top of your first hand and interlock your fingers. Ensure your shoulders are directly over your hands and keep your arms straight.
Chest Compressions Table
| Action | Description |
|---|---|
| Compression Depth | Press down at least 2 inches (5 cm) |
| Compression Rate | 100-120 compressions per minute |
| Allow Full Chest Recoil | Let the chest rise completely between compressions |
| Minimize Interruptions | Keep pauses to less than 10 seconds |
| Hand Placement | Center of the chest, between the nipples |
Step 7: Provide Rescue Breaths
After 30 chest compressions, give 2 rescue breaths. Here’s how:
- Tilt the Head Back: This opens the airway.
- Pinch the Nose: To prevent air from escaping.
- Cover Their Mouth with Yours: Create a complete seal.
- Blow into the Mouth: Give one breath, watching the chest rise. If the chest doesn’t rise, re-check for airway obstructions and try again.
Step 8: Continue the Cycle
Repeat the cycle of 30 chest compressions followed by 2 rescue breaths. Keep this up until emergency help arrives, the person starts breathing, or you physically cannot continue.
Rescue Breaths Table
| Step | Description |
|---|---|
| Check Airway | Ensure it’s open and clear |
| Give Breaths | 2 breaths, each 1 second long, seeing chest rise |
| Resume Compressions | Immediately after rescue breaths |
Special Considerations
CPR for Children and Infants
Performing CPR on children and infants requires some modifications.
Children (1 Year to Puberty)
- Use one hand instead of two for chest compressions.
- Press down about 2 inches (5 cm).
- Same compression rate: 100-120 per minute.
- Give gentle breaths.
Infants (Under 1 Year)
- Use two fingers for compressions.
- Press down about 1.5 inches (4 cm).
- Deliver compressions at 100-120 per minute.
- Use less force for rescue breaths, just enough to make the chest rise.
Using an AED (Automated External Defibrillator)
If an AED is available, use it as soon as possible. These devices provide step-by-step voice instructions for use and can significantly improve survival rates when used correctly.
- Turn on the AED: Usually a button or switch.
- Attach Pads: Follow the diagram on the AED.
- Analyze Rhythm: The AED will advise if a shock is necessary.
- Deliver Shock if Advised: Ensure no one is touching the person.
- Resume CPR: Continue until emergency help arrives.
Common Myths and Misconceptions About CPR
It’s common to have uncertainties or misconceptions about CPR. Let’s debunk some of these myths:
“CPR is Only for Adults”
False. CPR is crucial for people of all ages, including infants and children, although the technique differs slightly.
“You Can Do More Harm Than Good”
Incorrect. While there’s a small risk of rib fractures, the potential benefits of saving a life far outweigh these risks.
“Mouth-to-Mouth is Always Needed”
Not necessarily. Hands-only CPR can also be effective, especially for untrained rescuers or in cases where you’re hesitant to give rescue breaths.
“CPR is Too Complicated”
CPR is straightforward when boiled down to its basics: chest compressions and rescue breaths. Even a basic understanding can make a significant difference.
Practice and Preparation
You wouldn’t want to find yourself unprepared in an emergency, would you? Practicing CPR can enhance your confidence and performance. Consider enrolling in a CPR certification class to practice under the guidance of a professional. Many are offered by community centers, hospitals, and organizations like the American Heart Association.
For those of you interested in taking your preparedness to the next level, visiting a place like Green Line Arms can be a valuable experience. They offer advanced training programs that not only cover responsible gun ownership but also include first responder medical tips. Knowing how to handle firearms safely is excellent, but coupling that knowledge with CPR training can make you exceptionally prepared for various emergencies.
Practice CPR Table
| Activity | Description |
|---|---|
| CPR Classes | Instructor-led, hands-on practice |
| Online Courses with Demos | Learning from home with video demonstrations |
| Practice on Mannequins | Simulate real-life scenarios |
| Regular Refreshers | Update skills annually |
When Not to Perform CPR
While CPR is generally beneficial, there are certain situations where it may not be appropriate:
- Obvious Signs of Death: Such as rigor mortis, decapitation, or decomposition.
- Do Not Resuscitate (DNR) Orders: Legal documents specifying the person’s wishes not to undergo CPR.
- End-of-Life Care: Where comfort and quality of life might be prioritized over aggressive treatments.
Emotional Aftercare
Performing CPR can be an emotionally taxing experience. Once the situation is under control, it’s important to tend to your emotional well-being. Speaking with a counselor, family member, or friend can help you process the event and manage any lingering stress or anxiety.
Final Thoughts
Knowing how to perform CPR is an invaluable skill that can save lives. By following these step-by-step instructions, you can be prepared to act swiftly and confidently in emergencies. Whether you’re at home, out in public, or even visiting a specialized location like Green Line Arms, you now have the knowledge to potentially save a life.
Remember, the best way to keep these skills fresh is through regular practice and staying updated with current guidelines. So go ahead, take that CPR class, and feel empowered knowing you can make a critical difference in someone’s life.
For all your firearms, ammunition, and first responder medical tips, be sure to visit Green Line Arms. They’re committed to building a safer community through exceptional training and responsible gun ownership. Stay safe, stay prepared, and keep the community strong!
Visit Green Line Arms at:
1350 South Blue Angel Pkwy
Pensacola, Florida 32506
850-285-0468
Green Line Arms
PRAY FOR PEACE – PREPARE FOR WAR


