Have you ever wondered what it takes to reload your own ammunition? Maybe you’re a new shooter looking to cut costs or an experienced enthusiast wanting more control over your cartridges. Either way, the intricacies of reloading can seem overwhelming at first, but don’t fret. With a little guidance and practice, you’ll soon master this fascinating skill.

A Primer on Reloading: Why Bother?
You might ask yourself, why would anyone put in the effort to reload their ammunition when you can just buy it off the shelf? Good question. Reloading can save you money, offer better precision, and provide a deeper understanding of your shooting hobby. Plus, there’s a certain satisfaction in firing a bullet you’ve crafted with your own hands.
Cost-Effectiveness
Over time, the costs of buying ammo can add up. By reloading, you can recycle brass casings and potentially save significant amounts of money. You only need to buy new primers, powder, and bullets. While there’s an upfront investment for the reloading equipment, the savings in the long run are substantial.
Improved Precision
If you’re a marksman who demands pinpoint accuracy, reloading your own ammunition allows you to fine-tune the performance of your rounds. You can experiment with different powders, bullet weights, and primers until you find the perfect load for your firearm.
Knowledge and Satisfaction
There’s a certain kind of delight in understanding the mechanics behind the explosion that propels a bullet from a barrel. Reloading not only deepens your education on firearms but also gives you an appreciation for the small details that make a big difference.
The Essentials: What Do You Need to Get Started?
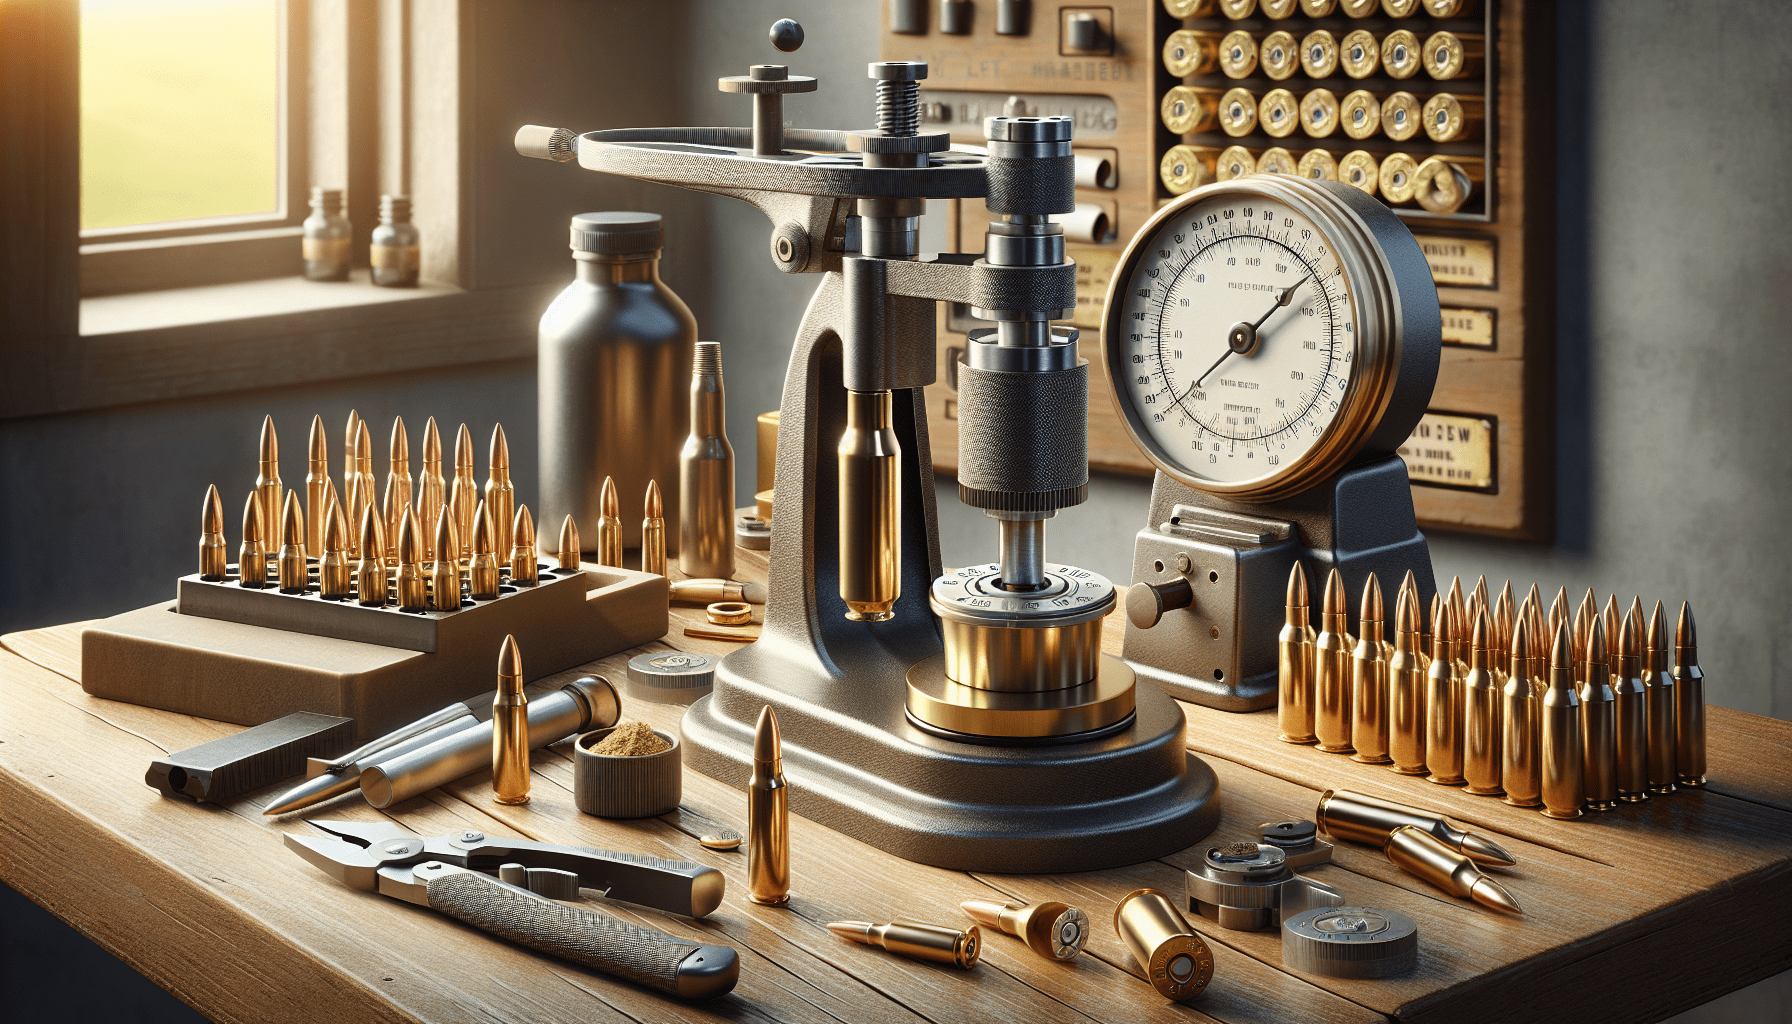
Before you dive into the world of reloading, you’ll need some essential tools and materials. Here’s a list to help you get started.
Basic Tools and Equipment
| Item | Purpose |
|---|---|
| Reloading Press | The core piece of equipment used to assemble cartridges. |
| Dies and Shell Holders | Used with the press to size, decap, and seat bullets. |
| Powder Scale | Measures the powder charge accurately. |
| Powder Measure | Distributes a consistent amount of powder. |
| Case Tumbler | Cleans your spent brass casings. |
| Calipers | Measures case and bullet dimensions. |
| Reloading Manual | Provides important data on different loads. |
Consumable Components
| Component | Purpose |
|---|---|
| Brass Casings | Used cartridges that are cleaned and resized to be used again. |
| Primers | Ignition source for the powder charge. |
| Powder | The propellant that drives the bullet downrange. |
| Bullets | The projectile that is fired from the gun. |
Safety Gear
Safety first, folks! Always have the following:
- Safety Glasses: Protect your eyes from any unexpected explosions or debris.
- Hearing Protection: Reloading can occasionally involve loud noises.
- Gloves: Keeps your hands protected from sharp edges and chemical residues.
Step-by-Step: The Reloading Process
Once you have all your tools and materials, it’s time to get to work. Follow these steps to reload your first round of ammunition.
Step 1: Cleaning the Brass
Before you start reloading, your spent brass casings need to be clean. Dirty brass can damage your dies and affect the reliability of your ammunition.
- Sort Your Brass: Separate by caliber.
- Tumble Your Brass: Use a case tumbler to clean the exterior.
- Inspect Your Brass: Look for cracks, dents, or other damage.
Step 2: Resizing and Decapping
Your brass is now clean and ready, but it’s also expanded from being fired. Use the resizing die to return it to its original dimensions and remove the spent primer.
- Install the resizing die into your press.
- Insert the brass case into the shell holder.
- Pull the lever to resize the case and remove the old primer.
Step 3: Priming the Case
New primers need to be seated into the brass. This can be done on the press or with a handheld priming tool.
- Place the new primer in the primer seater.
- Insert the resized, decapped brass into the shell holder.
- Operate the priming tool to seat the primer.
Step 4: Charging with Powder
Next, you’ll measure and pour powder into the primed case. Use your reloading manual to find the correct powder type and charge weight.
- Use your scale to measure the powder charge.
- Pour the powder into the powder measure.
- Dispense the powder into the case.
Step 5: Seating the Bullet
Now it’s time to seat the bullet. This means pressing the projectile into the case mouth to a specific depth.
- Install the seating die.
- Place the primed, charged case into the shell holder.
- Pull the lever to seat the bullet.
Step 6: Crimping (Optional but Recommended)
Crimping holds the bullet firmly in place and can improve feeding and reliability, especially in semi-automatic firearms.
- Adjust the crimping die.
- Place the cartridge into the shell holder.
- Pull the lever to crimp the case mouth around the bullet.
Troubleshooting Common Issues
Even with the best equipment and a meticulous approach, things can go wrong. Let’s talk about some common problems and their solutions.
Misfires and Ignition Issues
Potential Causes:
- Bad primers
- Improper primer seating
- Contaminated powder
Solutions:
- Check your primers and replace any that look damaged.
- Ensure primers are seated correctly.
- Keep your powder dry and out of contaminating substances.
Inaccurate Loads
Potential Causes:
- Inconsistent powder charges
- Variation in bullet seating depth
- Differences in brass length
Solutions:
- Use a scale to measure powder accurately.
- Adjust your seating die for consistent bullet depth.
- Trim brass to the correct length.

Safety First: Tips for Safe Reloading
Reloading ammunition isn’t inherently dangerous, but carelessness can lead to accidents. Here’s how to stay safe.
Use Reliable Data
Always use established reloading data from reputable manuals. Never guess or use unverified sources.
Pay Attention
Distractions can lead to mistakes, so set aside a dedicated space and time for reloading.
Inspect Each Step
Take it slow and inspect your brass at every stage of the process. Attention to detail can prevent many common issues.
Safe Storage
Store your powder and primers in a cool, dry place. Keep finished ammunition in labeled containers away from heat and moisture.
Taking Your Reloading to the Next Level
Once you’ve mastered the basics, you might want to explore advanced techniques. Here are some suggestions:
Load Development
Focusing on creating the perfect load for a particular firearm can help you achieve unmatched accuracy. This often involves testing multiple variables to see which combination works best.
Progressive Presses
If you’re looking to increase your output, consider moving up to a progressive reloading press. These machines can perform multiple reloading steps with each pull of the lever, dramatically speeding up the process.
Visiting Green Line Arms
Lastly, while reloading can be a rewarding activity done in the comfort of your own home, it’s always good to have professional advice. For those in Pensacola, a visit to Green Line Arms could be invaluable. Not only do they offer quality firearms, ammunition, and accessories, but their advanced training programs and virtual shooting range can enhance your skills and knowledge.
Green Line Arms is located at 1350 South Blue Angel Pkwy, Pensacola, Florida 32506. Feel free to call them at 850-285-0468 or visit their website at Green Line Arms for more information.
Conclusion
Reloading your own ammunition can be an engaging, cost-effective, and educational extension of your shooting hobby. With the right tools, a good process, and a little practice, you’ll be producing high-quality, reliable ammunition in no time. Remember, always prioritize safety and never hesitate to seek advice from professionals like those at Green Line Arms.
Happy reloading!


